


She Painted Her Wall Like THIS—and Now Her Entire Neighborhood Is Obsessed!
Discover how simple wall art transforms any space instantly. See amazing before & after photos and learn expert tips for stunning home makeovers.
Have you ever seen something so simple yet so stunning that it makes you stop in your tracks? That’s exactly what happened when Sarah Martinez decided to transform her boring living room wall using a technique so easy, yet so effective, that neighbors started knocking on her door asking for the secret. What started as a weekend DIY project has turned into the talk of the entire neighborhood, and we’re about to show you exactly how she did it.
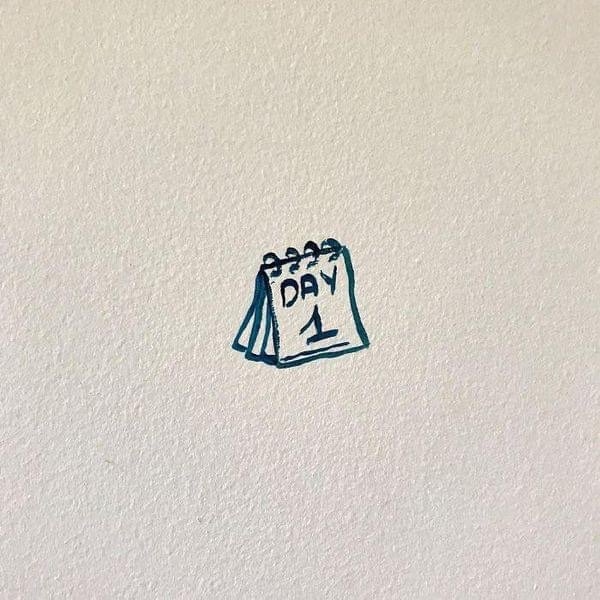
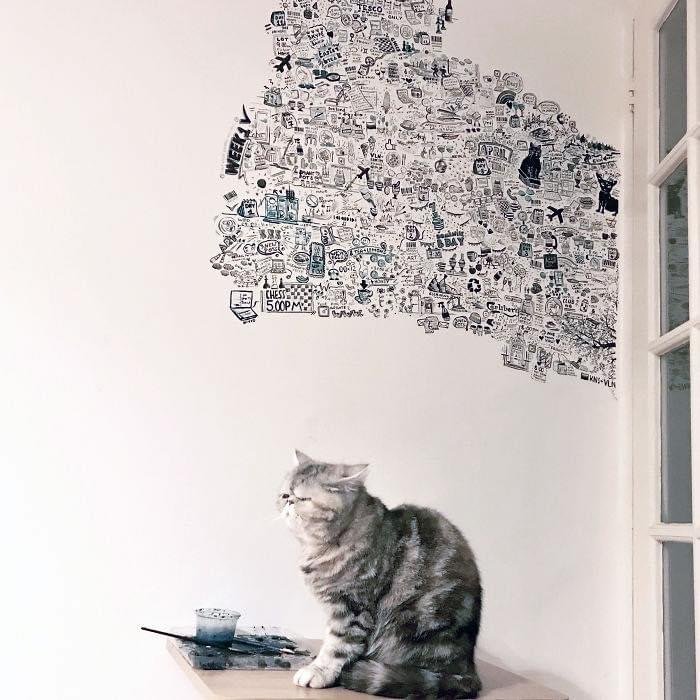
#Day 01
The Simple Wall Painting Technique That Started It All
Sometimes the most incredible transformations come from the simplest ideas. Sarah’s wall painting technique wasn’t complicated or expensive—it was just brilliant. Using nothing more than basic paint supplies and a creative vision, she created something that would make interior designers jealous.
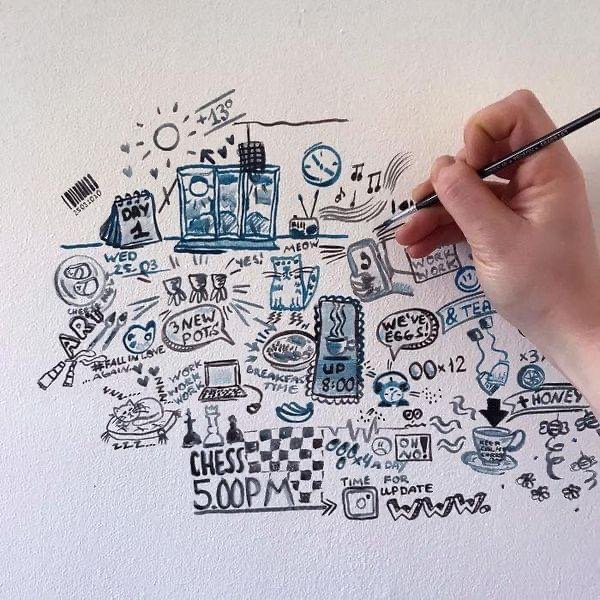
#Day 02
What Made This Wall So Special?
The magic wasn’t in expensive materials or professional tools. Sarah used a combination of geometric patterns and gradient colors that created an optical illusion, making her small living room appear twice as large and infinitely more stylish. The technique involved creating overlapping triangular shapes in different shades of blue and white, which gave the wall depth and movement.
#Day 03
What really caught everyone’s attention was how the colors seemed to shift throughout the day. In the morning light, the wall appeared soft and calming. By afternoon, it became vibrant and energizing. This wasn’t an accident—Sarah strategically chose colors that would respond differently to various lighting conditions.
#Day 04
The Materials She Used (You Probably Have Them at Home!)
Here’s the surprising part: Sarah spent less than $50 on this entire project. Her shopping list included basic wall paint in three shades, painter’s tape, a few brushes, and a small foam roller. No special equipment, no expensive tools—just items you can find at any hardware store.
The key was in the technique, not the materials. She used standard interior paint, which means this look is achievable for anyone with a weekend to spare and a willingness to try something new.
#Day 05
Why Everyone Can’t Stop Talking About This Wall Art
The response to Sarah’s wall has been nothing short of extraordinary. Neighbors who barely spoke before are now stopping by to admire her work and ask for advice. But why has this simple wall painting captured so much attention?
The Psychology Behind Viral Home Trends
There’s something powerful about seeing a dramatic transformation that feels achievable. Unlike expensive home renovations that most people can only dream about, Sarah’s wall painting project represents possibility. It shows that with creativity and effort, anyone can dramatically improve their living space without breaking the bank.
#Day 06
Psychologists tell us that we’re naturally drawn to patterns and colors that create harmony and balance. Sarah’s design hit that sweet spot—it’s visually interesting without being overwhelming, sophisticated without being intimidating.
How Social Media Amplified the Buzz
When Sarah posted a before-and-after photo on her neighborhood’s Facebook group, she never expected the reaction she got. Within hours, the post had dozens of likes and comments. People were tagging their friends, asking for tutorials, and sharing their own wall art ideas.
#Day 07

The post went viral locally, then spread to home improvement groups across social media platforms. Interior design bloggers started featuring her work, and suddenly, Sarah’s simple wall painting technique was inspiring people across the country.
The Complete Step-by-Step Guide to Recreate This Look
Ready to create your own neighborhood sensation? Here’s exactly how Sarah did it, broken down into simple steps that anyone can follow.
Planning Your Wall Painting Project
Before you pick up a brush, spend time planning your design. Sarah recommends starting with inspiration—look at patterns you love, colors that make you happy, and spaces that feel good to you. Take photos of your wall at different times of day to understand how light affects the space.
Measure your wall and sketch your design on paper first. This helps you visualize the final result and calculate how much paint you’ll need. Don’t worry about making it perfect—some of the best wall art has a handmade, organic feel that’s impossible to achieve with machine precision.
#Day 08
Choosing the Right Colors and Patterns
Color selection is crucial for creating impact. Sarah chose a monochromatic scheme with varying shades of blue because it creates depth without being chaotic. The key is to pick colors that are different enough to create contrast but similar enough to feel harmonious.
Color Combinations That Work Every Time
Monochromatic schemes (different shades of the same color) are foolproof for beginners. Try varying shades of gray for a modern look, or different tones of green for something more natural. If you’re feeling adventurous, complementary colors (opposites on the color wheel) create dramatic contrast.
#Day 09
Cool colors like blues and greens make rooms feel larger and more serene. Warm colors like oranges and yellows make spaces feel cozy and energetic. Consider the mood you want to create and the size of your space when making your choice.
Pattern Ideas for Beginners
Geometric patterns are forgiving and create maximum impact with minimal skill required. Triangles, like Sarah used, are perfect for beginners because small imperfections actually add character. Stripes are another excellent choice—they can make walls appear taller or wider depending on their orientation.
For those feeling more artistic, organic patterns like waves or abstract shapes can create a more flowing, natural feel. The key is to keep it simple enough that you can execute it well, but interesting enough to catch the eye.
Transform Your Space: Before and After Results
The transformation potential of wall painting goes far beyond simple decoration. When done right, it can completely change how a space feels and functions.
Small Rooms That Look Bigger
Sarah’s technique specifically addressed one of the biggest challenges in home design—making small spaces feel larger. By using lighter colors toward the ceiling and gradually darkening toward the floor, she created the illusion of height. The geometric pattern draws the eye around the room, making it feel more spacious.
Light colors reflect more light, making rooms feel brighter and more open. Strategic use of patterns can guide the eye and create the perception of space where none existed before. This is interior design magic that costs almost nothing but delivers professional-level results.
Making Dark Spaces Feel Brighter
If you’re dealing with a room that doesn’t get much natural light, wall painting can be your solution. Light, warm colors reflect available light and make spaces feel more welcoming. Sarah’s technique works especially well in darker rooms because the varying shades create their own sense of light and shadow.
Consider the direction your room faces when choosing colors. North-facing rooms benefit from warm colors that compensate for cooler natural light. South-facing rooms can handle cooler colors that balance the warm sunlight.
#Day 10
Expert Tips from Professional Wall Painters
While Sarah’s technique is designed for beginners, professional painters have shared insights that can help anyone achieve better results.
Common Mistakes to Avoid
The biggest mistake DIYers make is rushing the preparation. Professional painters spend more time preparing surfaces than actually painting. Clean your wall thoroughly, fill any holes, and use primer if you’re making a dramatic color change.
Another common error is buying cheap brushes and rollers. Quality tools make a significant difference in the final result and are worth the small extra investment. Cheap brushes leave streaks and lose bristles, while quality brushes give you smooth, even coverage.
Tools That Make the Job Easier
A good angled brush is essential for cutting in around edges and creating clean lines. A high-quality roller with the right nap (thickness) for your wall texture will give you professional-looking results. Don’t forget painter’s tape—it’s your best friend for creating sharp, clean pattern edges.
A paint tray with a liner makes cleanup easier and helps you maintain wet edges while working. If you’re working on a large wall, consider a paint sprayer for base coats, though brushwork is still necessary for detailed patterns.
Budget-Friendly Ways to Get This Look
One of the best things about Sarah’s wall painting technique is how affordable it is. With some smart shopping and planning, you can achieve a high-end look on a budget that won’t break the bank.
DIY vs. Hiring a Professional
For Sarah’s specific technique, DIY is definitely the way to go. The pattern is forgiving enough that small imperfections add character rather than detract from the overall effect. Plus, the satisfaction of creating something beautiful with your own hands is priceless.
However, if you’re dealing with high ceilings, complex patterns, or need the work done quickly, hiring a professional might be worth considering. Get quotes from several painters and ask to see examples of similar wall art work.
Where to Find Affordable Supplies
Paint stores often have mistinted paint available at deep discounts. These “oops” paints are perfect for accent walls and creative projects. End-of-season sales at home improvement stores can also yield significant savings on supplies.
Consider buying paint in larger quantities if you’re planning multiple rooms or projects. Paint stores often offer volume discounts, and having extra paint on hand is always useful for touch-ups.
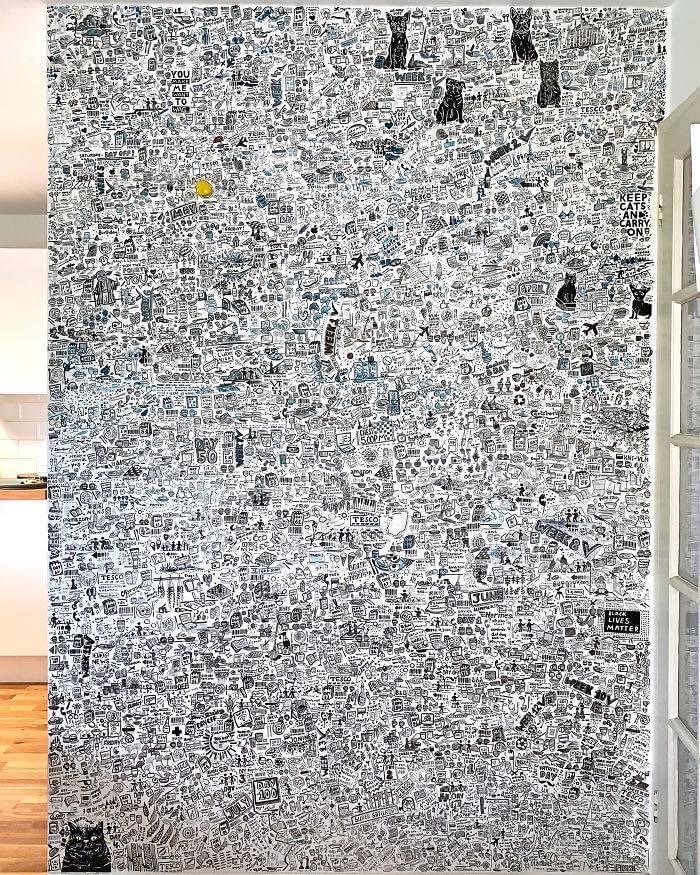
The Neighborhood Effect: How One Wall Changed Everything
Sarah’s wall painting project didn’t just transform her living room—it transformed her entire neighborhood’s attitude toward home improvement and community.
Property Values and Curb Appeal
While Sarah’s project was on an interior wall, the principles apply to exterior spaces as well. Creative, well-executed improvements can increase property values and make entire neighborhoods more attractive. When one homeowner invests in creative improvements, it often inspires others to do the same.
Real estate experts note that unique, tasteful improvements can set a property apart in competitive markets. While a painted wall alone won’t dramatically increase home value, it’s part of creating an overall impression of a well-maintained, creatively enhanced home.
Building Community Through Art
Perhaps the most unexpected result of Sarah’s project was how it brought neighbors together. People who had lived next to each other for years without much interaction suddenly had something to talk about. The wall became a conversation starter and a source of neighborhood pride.
This phenomenon isn’t uncommon—creative projects often have a way of building community connections. When we share our creativity, we invite others to share theirs, creating bonds that go beyond simple neighborly politeness.
Taking It Further: Advanced Wall Art Techniques
Once you’ve mastered Sarah’s basic technique, you might want to explore more advanced options that can create even more dramatic results.
Adding Texture and Dimension
Textured paint techniques can add incredible depth to your walls. Techniques like sponging, ragging, or using textured rollers can create surfaces that seem to move and change as light hits them differently throughout the day.
Consider incorporating mixed media elements like stencils or stamps to add even more visual interest. These techniques require more skill but can create truly unique, artistic walls that become focal points in any room.
Incorporating Murals and Storytelling
For those with artistic ambitions, wall art murals offer unlimited creative possibilities. Start simple with landscape scenes or abstract compositions, then work your way up to more complex narrative pieces.
Remember that murals work best when they complement rather than dominate a space. Consider the room’s function and choose subjects that enhance rather than distract from daily activities.
Different Types of Wall Art to Consider
Beyond Sarah’s geometric technique, there are numerous wall art styles you can explore. Abstract wall art offers freedom of expression and can complement any decor style. Nature-inspired wall art brings the outdoors inside, creating calming environments that reduce stress.
Modern wall art featuring bold lines and contemporary themes works perfectly in minimalist spaces. Traditional wall art with classic patterns and muted colors adds sophistication to formal rooms. The key is choosing wall art that reflects your personality while enhancing your space’s overall aesthetic.
Popular Wall Art Trends This Year
Current wall art trends lean toward sustainability and personalization. Eco-friendly wall art using natural pigments and low-VOC paints is gaining popularity among environmentally conscious homeowners. Interactive wall art that changes with lighting or viewer perspective creates dynamic living spaces.
Minimalist wall art focusing on simple lines and neutral colors continues to dominate contemporary design. Cultural wall art celebrating heritage and personal stories adds meaningful depth to home decoration. These trending wall art approaches offer fresh inspiration for your next project.
How Wall Art Affects Home Value
Strategic wall art placement can significantly impact property values and buyer interest. Professional real estate agents report that homes featuring thoughtful wall art sell faster and often at higher prices than comparable properties without artistic elements.
Well-executed wall art demonstrates attention to detail and creative vision, qualities that appeal to potential buyers. However, it’s important to choose wall art styles that have broad appeal rather than highly personal or controversial themes. Neutral wall art with sophisticated execution typically yields the best return on investment.
Maintaining Your Wall Art Over Time
Proper maintenance ensures your wall art remains beautiful for years to come. Regular dusting with a soft cloth keeps painted surfaces clean without damaging the finish. For more thorough cleaning, use mild soap solutions and test on inconspicuous areas first.
Touch-up supplies should be stored properly and labeled with creation dates. Keep detailed records of paint colors and techniques used, making future repairs or modifications easier. Professional wall art may benefit from periodic assessment by qualified painters to maintain optimal appearance.
Seasonal Wall Art Ideas
Seasonal wall art changes can refresh your space throughout the year without major renovation costs. Spring wall art featuring soft pastels and floral motifs brings renewal energy indoors. Summer wall art with bright, energetic colors creates vibrant, cheerful atmospheres.
Fall wall art incorporating warm earth tones and natural textures prepares homes for cozy autumn months. Winter wall art using cool blues and metallic accents adds sophistication during colder seasons. These rotating wall art approaches keep your decor fresh and seasonally appropriate.
Wall Art for Different Room Types
Each room requires specific wall art considerations based on function and atmosphere. Bedroom wall art should promote relaxation using calming colors and peaceful imagery. Kitchen wall art can incorporate food themes or energizing colors that stimulate appetite and conversation.
Bathroom wall art must withstand humidity while maintaining aesthetic appeal. Office wall art should inspire productivity without creating distraction. Living room wall art serves as focal points for social gatherings and family time. Matching wall art to room function ensures optimal impact and satisfaction.
DIY Wall Art Safety Considerations
Safety should always be your top priority when creating wall art. Proper ventilation prevents paint fume accumulation and ensures healthy working conditions. Quality brushes and tools reduce injury risk while improving final results.
Ladder safety becomes crucial when working on high walls or ceiling areas. Having a helper present during ambitious wall art projects provides both safety backup and additional creative input. Following manufacturer instructions for all paints and supplies prevents accidents and achieves intended results.
Conclusion
Sarah’s simple wall painting technique proves that you don’t need expensive materials or professional training to create something extraordinary. With basic supplies, a creative vision, and the willingness to try something new, anyone can transform their living space and inspire their community.
The real magic isn’t in the specific technique—it’s in the courage to try something different and the joy of creating something beautiful with your own hands. Whether you follow Sarah’s exact method or use it as inspiration for your own creative vision, the important thing is to start.
Your walls are blank canvases waiting for your creativity. What story will you tell with yours?
FAQs
Q: How long does this wall painting technique take to complete? A: Sarah completed her wall in a single weekend, working about 6-8 hours total. The exact time depends on your wall size and how detailed you want to make the pattern.
Q: Can this technique work on textured walls? A: Yes, though you may need to adjust your approach. Heavily textured walls work better with simpler patterns and may require different brush techniques to get paint into all the crevices.
Q: What if I make a mistake while painting the pattern? A: That’s the beauty of this technique—small imperfections actually add character! If you make a major error, simply let it dry and paint over it. The layered approach is very forgiving.
Q: How do I maintain the painted wall over time? A: Use the same paint for touch-ups, and keep some extra paint stored properly for future needs. Most quality interior paints are washable, so you can clean the wall gently with a damp cloth when needed.
Q: Can I use this technique in a rental property? A: Check with your landlord first, but many are open to improvements that add value. Consider starting with a small accent wall that could easily be painted over if needed, or choose colors that are close to the existing wall color.
Please don’t forget to leave a review.

